

Settings & Admin
The Platform group in the sidebar contains configuration surfaces for connections, adapters, and settings. AI content tools live in the separate AI group. This section covers Settings, AI Provider Settings, Prompt Templates, and Adapters.
Some of these pages are admin-only. If you don’t see them in the nav or get a 403 response, your account may not have the admin role.
Settings
Section titled “Settings”Open Settings in the sidebar (under Platform).
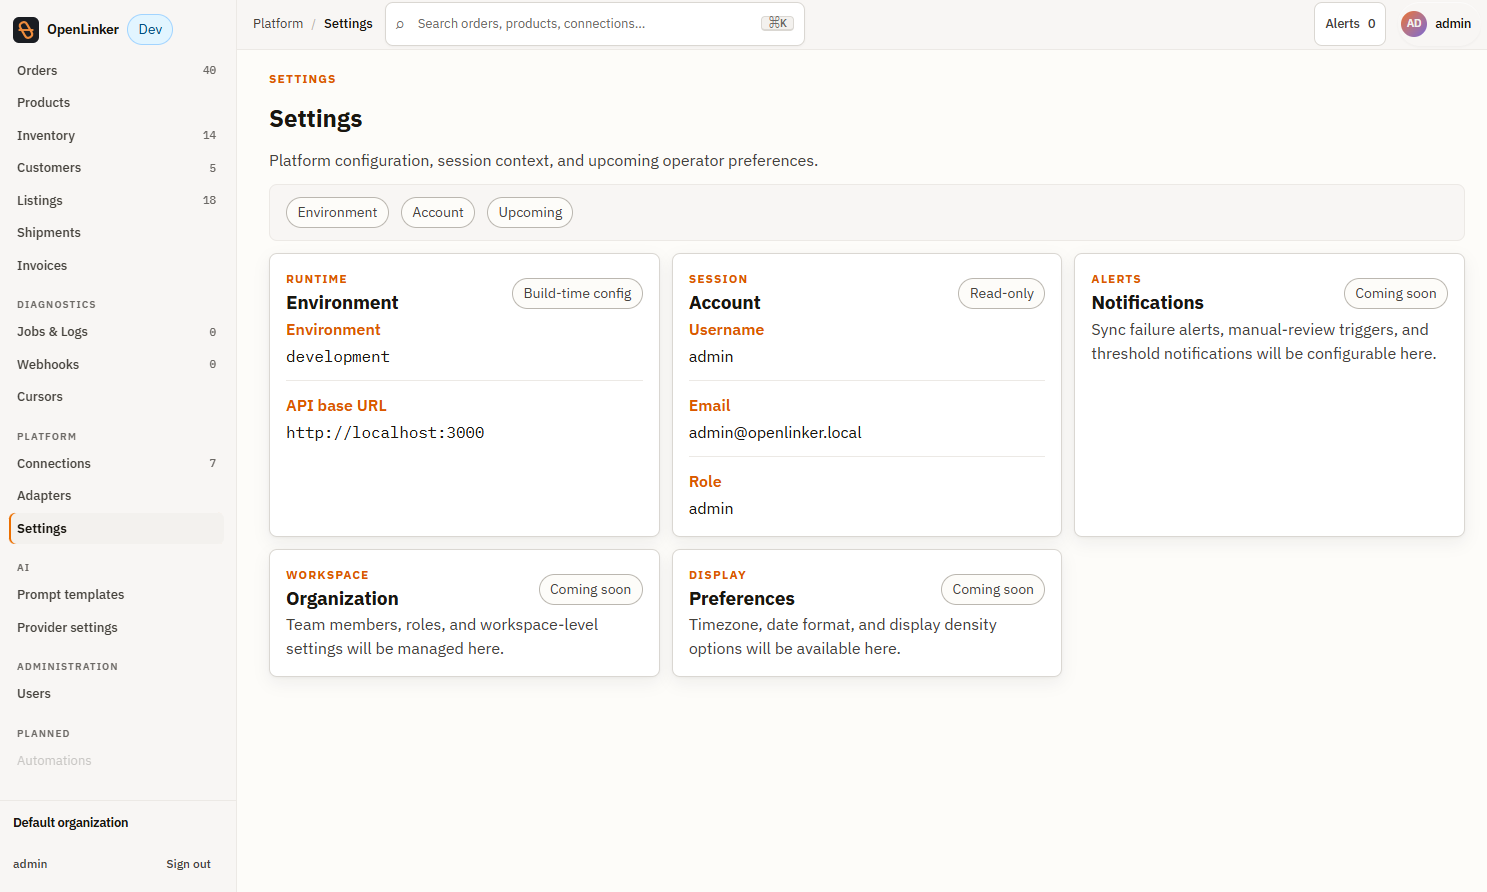
The Settings page is organized into three tabs:
Environment tab
Section titled “Environment tab”Shows read-only runtime information about the current OpenLinker instance:
- Environment — the runtime environment (e.g.
development,production) - API base URL — the base URL the web app uses to reach the API
Account tab
Section titled “Account tab”Shows the currently logged-in account details (read-only):
- Username — your login name
- Email — your account email
- Role — your role in the system (e.g.
admin)
Upcoming tab
Section titled “Upcoming tab”Preview cards for settings features that are coming soon:
- Notifications — sync failure alerts, manual-review triggers, and threshold notifications
- Organization — team members, roles, and workspace-level settings
- Preferences — timezone, date format, and display density options
AI Provider Settings
Section titled “AI Provider Settings”⚠️ Admin only. This page requires the
adminrole.
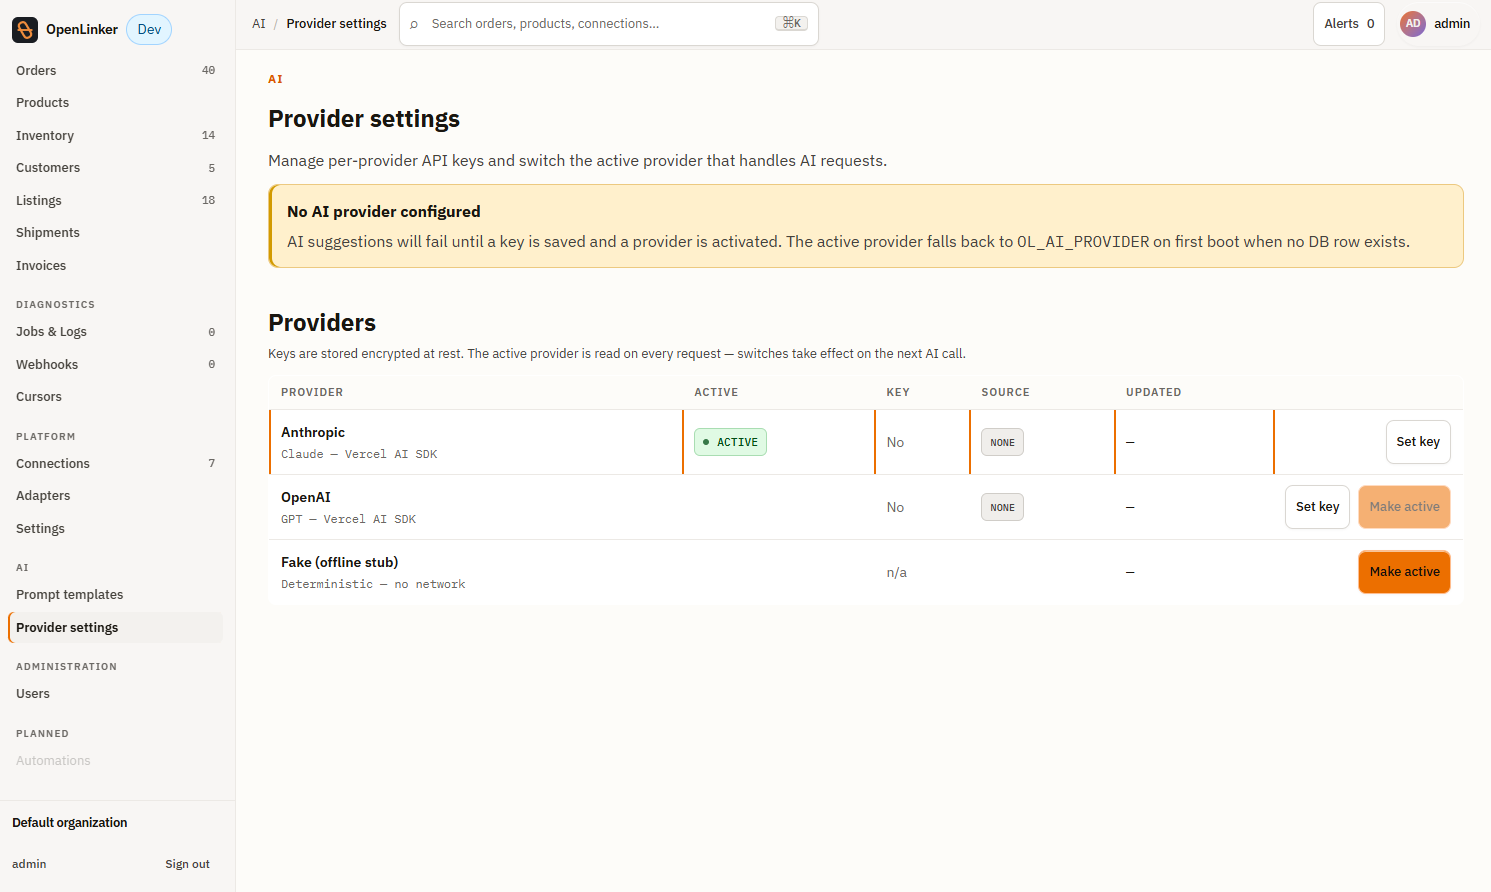
Open Provider settings in the sidebar (under the AI group). This page controls which AI provider powers the offer-description suggestion feature.
Configuring a provider
Section titled “Configuring a provider”OpenLinker supports Anthropic (Claude) and OpenAI (GPT) as AI providers. To configure one:
-
Select the provider.
-
Paste your API key into the API Key field.
⚠️ API keys are stored encrypted. Never share your key, and do not commit screenshots that show a real key.
-
Click Save key.
Switching the active provider
Section titled “Switching the active provider”The Active provider selector controls which provider is used for all completions. Switch between Anthropic and OpenAI without re-entering keys — both can have keys stored simultaneously. The change takes effect immediately.
Prompt Templates
Section titled “Prompt Templates”⚠️ Admin only. This page requires the
adminrole.
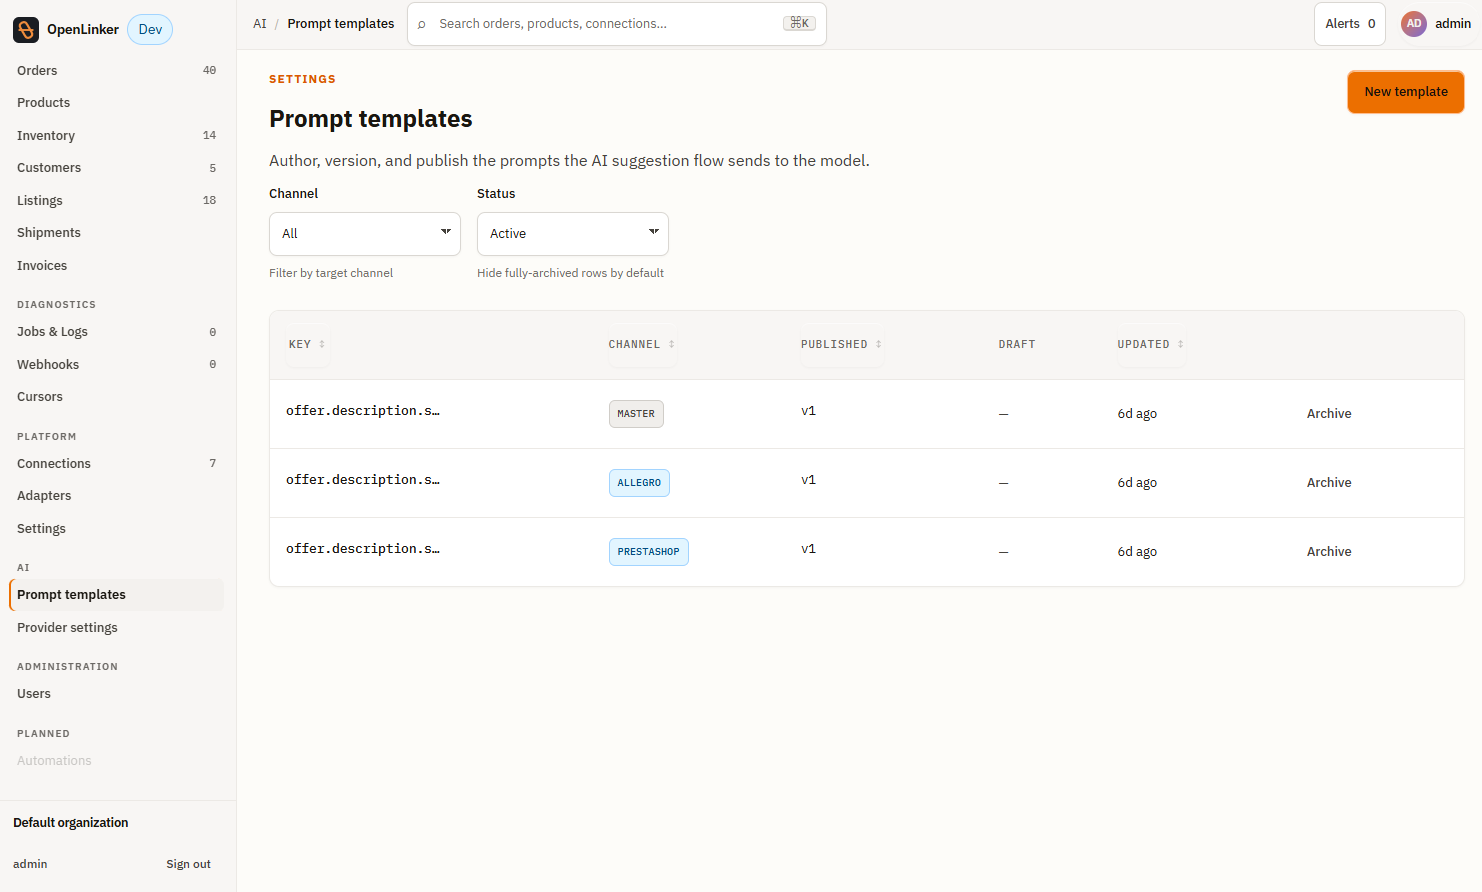
Open Prompt templates in the sidebar (under the AI group). Prompt templates are the instructions OpenLinker sends to the AI provider when generating content (currently: offer descriptions).
Template list
Section titled “Template list”Each row represents one template. Columns include:
- Key — the template’s identifier (e.g.
offer.description.suggest) - Channel —
MASTERchip for shop-generic prompts, or a platform type chip (e.g.allegro) for channel-specific overrides - Published — the currently published version (dash if none published yet)
- Draft — avatar icon of the user who last saved a draft (present when an unpublished draft exists)
- Updated — when the template was last modified
At any time, at most one template per (key, channel) combination can be published — that’s the version the AI uses. Rows with only a draft and no published version are not yet active. Use the Archive action to retire a template.
Editing and publishing a template
Section titled “Editing and publishing a template”- Click a template row to open the editor.
- Edit the prompt text. Use
{{dotted.path}}placeholders for values the system substitutes at render time (e.g.{{product.name}},{{product.description}}). - Click Save as draft to save without activating.
- Click Publish to make this version active. The previous published version is automatically archived.
Reverting a template
Section titled “Reverting a template”Click Revert on any archived row to clone that historical version into a new draft. Useful for rolling back a poorly-performing prompt without losing the edit history.
Adapters
Section titled “Adapters”Open Adapters in the sidebar (under Platform).
The Adapters page shows the registered adapter manifests for every integration that is loaded in this OpenLinker instance. This is a read-only registry view.
Each adapter entry shows:
- Adapter key — the unique identifier (e.g.
prestashop.webservice.v1,allegro.publicapi.v1) - Platform type — the platform this adapter targets
- Version — the adapter’s declared version
- Capabilities — the capability ports this adapter implements (ProductMaster, InventoryMaster, OfferManager, etc.)
- Default — whether this is the default adapter for its platform type
Adapters are registered at startup by the plugin packages loaded in the API and worker processes. You cannot add or remove adapters from the UI — that requires a code change and restart.
Theme toggle
Section titled “Theme toggle”The light/dark theme toggle is in the top bar — click the sun (light) or moon (dark) icon on the right side. The preference is stored in your browser and persists across sessions.